
")
")
This foaming process is also called hand mixing. It is used as a simple method of evaluating foaming systems for ...
comparison of raw materials and resulting foam properties. In other word, a small-scale method to measure the quality of polyurethane foam is to preform cup tests. Based on the optimum formulation obtained by cup foaming, scale-up foaming processes, are employed.
In the first place, it is important to review the Safety Data Sheets (SDSs) for the materials that are going to be mixed. Then, after preparing the essential equipment and supplies small size samples (cup-tests) can be carried out.
Supplies you will need:
- plastic cups
- solvent-resistant gloves
- stopwatch
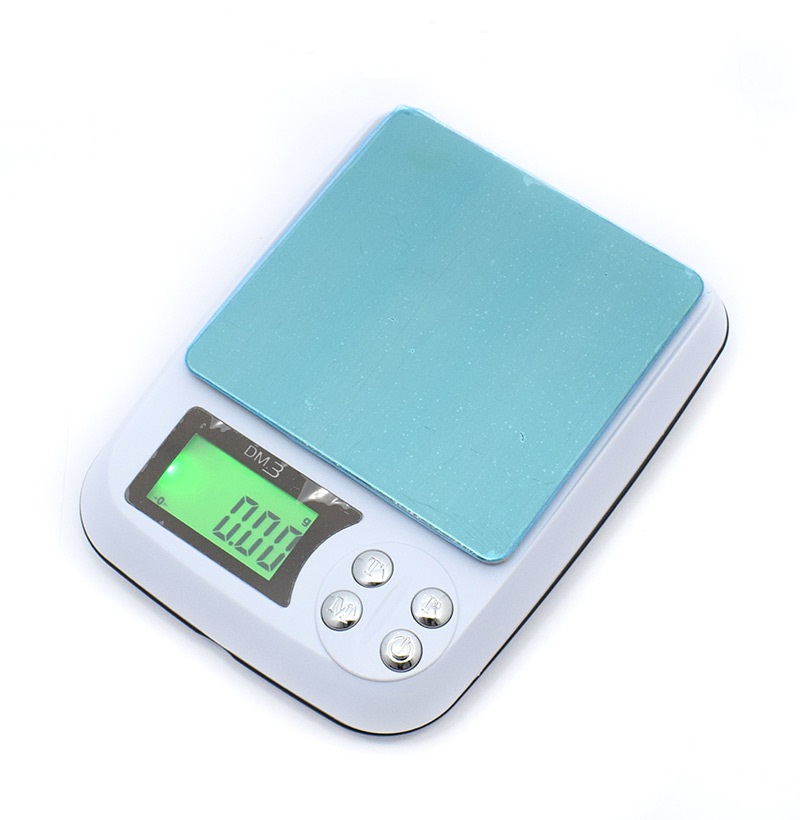
- digital scale
- thermometer
- wooden needle (or spatula)
- mechanical stirrer
- suitable solvent (e.g. methylene chloride)
- a knife (to cut the foam for density measurement)
Before starting the process, inspect all equipment. Ensure that all supplies are in proper working condition, and meet materials compatibility requirements. Now, the test steps can be done sequentially as follows.
The foaming procedure are:
- Step one: weigh the components
At first, some calculation is needed to find out exact amount of each component. Thereafter, weighing the components is performed. In cases where a physical blowing agent is required, a mixture of polyol with the physical blowing agent is prepared with an exact ratio. Weigh required amount of the polyol component, successively add the blowing agent into the polyol with gentle stirring with a spatula.
When the blowing agent is added to the polyol and stirred with a mechanical stirrer, a portion of it evaporates, so its loss should be adjusted by adding more blowing agent. The addition and stirring are repeated to reach an exact amount.
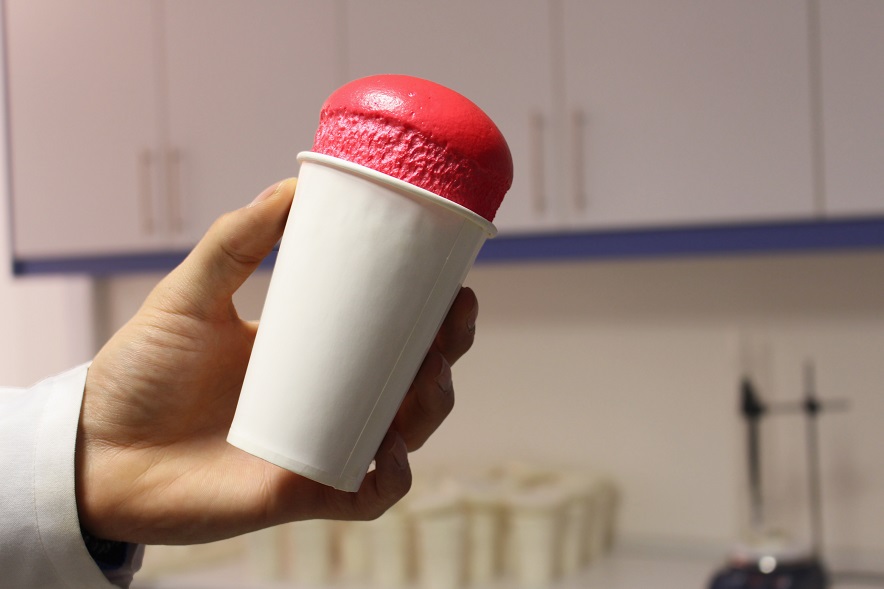
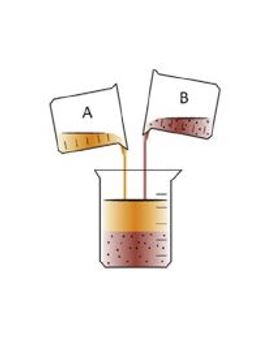
- Step two: mix polyol blend with isocyanate
Prepare the appropriate amount of isocyanate needed for your formulation in a separate cup. Check the temperature of the polyol blend with a thermometer to ensure that it is at your required processing temperature, as differences in temperature can affect the reaction times. Thereafter, pour the isocyanate component into the polyol-containing blend and mix it with a mechanical stirrer. Now, pour the mixture into a second cup and let the foam to rise freely.
Clean the stirrer immediately after mixing by using methylene chloride or other solvents.
- Step three: measure the characteristic times
Overall, there are four important timings during polyurethane foam formation:
- Cream Time: The period of time between initial mixing of starting components and the first visible reaction in the form of creaminess of the reaction mixture is called cream time. At this time, the mixture starts to expand.
- Gel Time: The viscosity of the foaming liquid increases with reaction time due to the cross-linking reactions. To test for gel, touch the foam with a spatula and pull away; a thread will form between the spatula and the foam.
- Rise Time: The time interval between the start of the final mixing and the time of complete expansion of the foaming mass.
- Tack-free time: The time interval between pouring the liquid mixture into the cup and the time when the surface of the foam does not show stickiness when touched. This means that chemical reactions have been completed.
To sum up, the cup test results are:
- Reaction times
- Free rise density
- Appearance (foam skin and cellular structure)