Table of contents
Foam Production Methods
There are two basic methods for commercial foam production: spray and pour. The spray method is generally limited to rigid foams, while the pour method is used for all types of foams.
Pour-in-Place (Foam-in-Place) Batch Preparation
Pouring-in-place is the oldest, most versatile, and most popular technique for the application of rigid urethane foam. In conventional pouring-in-place molding, freshly mixed liquid formulations are charged directly into a cavity in which the foaming reaction is carried out. The cavity is filled upon completion of the foaming reaction. The technique is applicable over the entire density range from 0.7 to 70 lb/ft3. Usually, the mold is retained as the exterior of the finished item. Both the semi- or quasiprepolymer and the one-shot processes are successfully used.
The ingredients are mixed either by hand or with a power mixer in any clean container ranging from a small glass beaker to a large pail or bucket. Batches may be up to 50 lb or more. Ideally, a power mixer should do a thorough job of mixing in 10–15 s. Some of the higher-viscosity, slower formulations may require up to 30 s. Often, electric drill motors with various blades attached to the shaft are used. The batch system used in pouring-in-place may result in nonuniform end products, but the required equipment is not costly.
The reactant mixture, after being poured directly into a cavity or mold, flows to the bottom of the mold and then foams to approximately 30–40 times its original volume, filling all cracks and corners and forming a strong, seamless core. The elimination of seams, joints, and lines (which tend to fail at low temperatures) is a distinct advantage. Pouring-in-place differs from molding primarily because adhesion to the mold is desired, whereas in molding, perfect release is sought. Also, during the expansion process, a skin is formed next to the surface of the filled cavity, eliminating the need for vapor barriers.
Pouring-in-place is ideal for filling defined areas such as curtain wall sandwich panels, wall cavities, and irregularly shaped voids. The cavity must be capable of supporting foam pressures of up to 3–5 psi. The usual increase in volume of 30–40 times is cut down somewhat by the frothing process, but it is not entirely eliminated. The temperature of the foaming reactants is very critical if a low overall density is desired.
The numerous applications for which urethane foam has been successful may be classified into three types, according to density, as listed below and shown in Figure 8.14:
- Low, up to 1.5
- Medium, from 1.5 to 3.0
- High, above 3.0 lb/ft3
One-shot rigid foam may be poured in place. The molds may be positioned with the walls vertical or horizontal during the foaming process as shown in Figure 8.15.
Maximum compressive strength in panels occurs parallel to the panel walls in vertical pours. The high vertical rise is the easiest to handle, as it may be poured through a single opening at the top of the mold. Panels up to 8 ft high have been successfully foamed using only one pour. The foam properties of vertically filled panels are uniform from top to bottom. A low vertical rise may also be used where high panels cannot be conveniently handled. In this case, the foam may be poured through a single hole at one end if the mold is tilted to ensure adequate distribution. Otherwise, it may be necessary to traverse the length of the mold.
In some cases, it is desirable to achieve maximum strength perpendicular to the panel walls. In such cases, the panel can be foamed horizontally. In pouring horizontal panels, one of the panel skins is placed on the bottom of a mold. The mold skins are used to retain the foam as it rises to meet the other skin being held in place by the upper mold section. As with vertical panels, electromagnets and vacuum may be used to hold the top substrate to the upper mold section. The liquid mixture of foam components can be flowed in by a mixing head in a predetermined pattern, traversing the mold area.
Skin materials used for insulated building panels include steel, aluminum, melamine laminates, plywood, sheet rock, and paper. Temperatures of 110–130°F are desirable with metal molds in one-shot rigid urethane panel molding to ensure low panel densities and optimum K factors. Lower mold temperatures result in high panel density because of the loss of heat to the mold. In addition, a thick skin forms at the foam surface, causing an increase in K factor. Usually, with 110–130°F molds, panels may be released from their jigs in approximately 10 min. A post-cure at 150–175°F may reduce this time to as little as 5 min.
Spraying
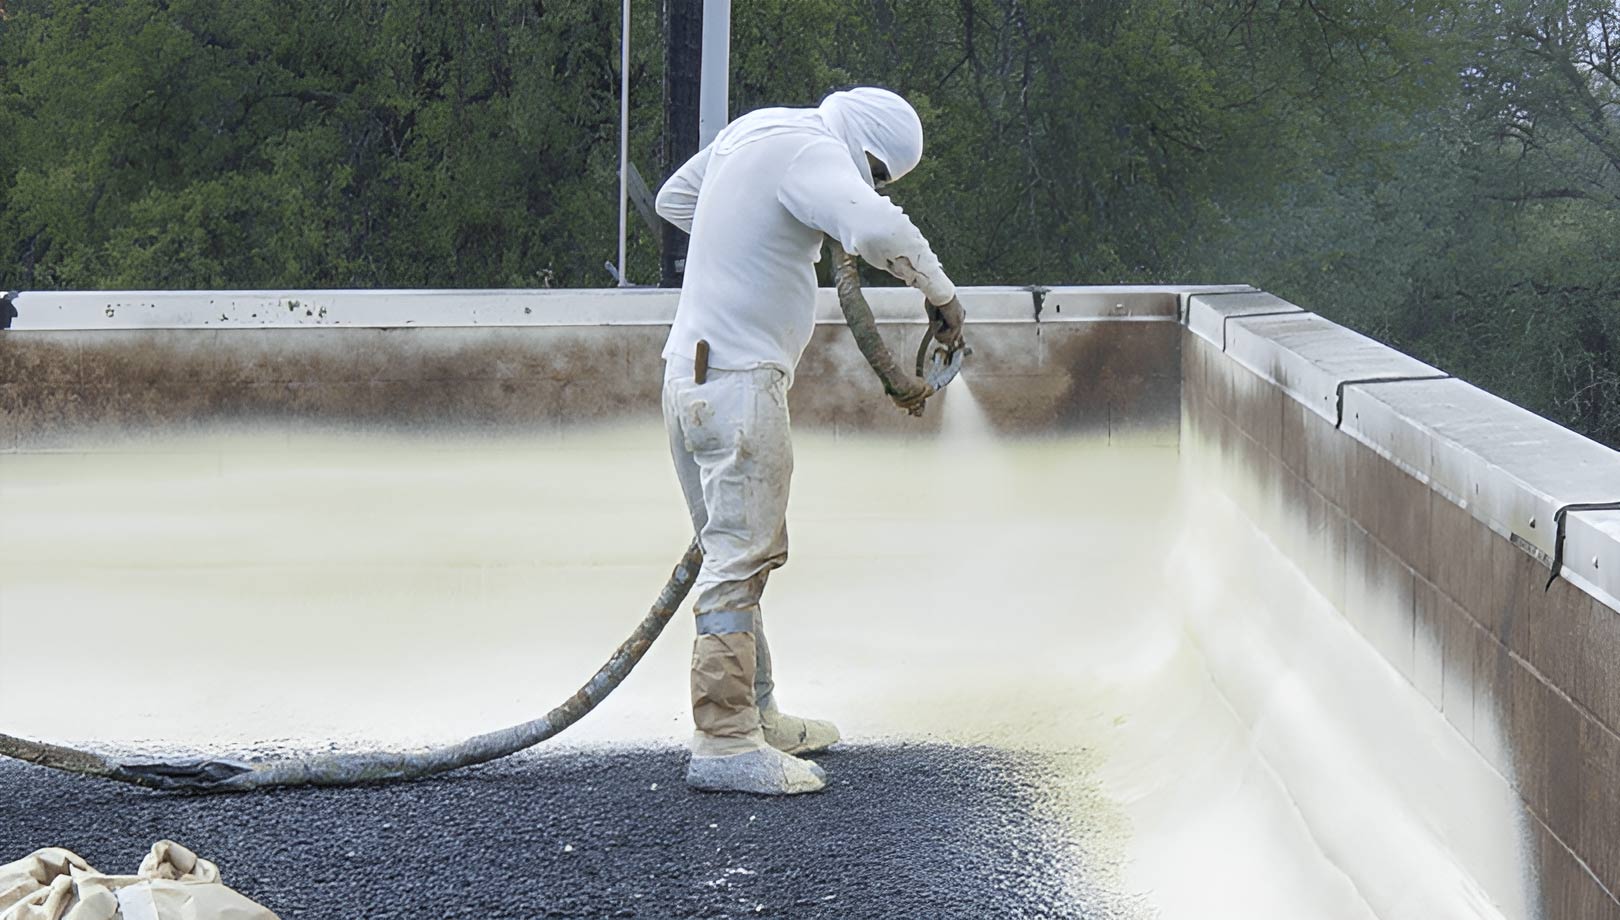
Spray techniques are used for filling molds and panels and for applying foam to plane surfaces. Spraying is particularly useful in applications where large areas are involved, such as tanks or building walls. Sprayed rigid foam coatings provide both physical strength and improved insulation. Spraying is the simplest and least-expensive way to produce foam. In addition, spraying equipment is reasonably priced and portable, and foam can be applied without molds or jigs of any kind.
In spray applications, the ingredient mixing is accomplished by atomization of the materials as they leave the nozzle of the spray gun. Resin viscosities in the range of 500–1500 cps should be maintained to ensure intimate mixing of the constituents. When necessary, heat may be applied to the polymer to reduce the viscosity to the desired level.
Commercial spray guns will apply a 12-in. circle of foam when the gun is held at a distance of 3 ft from the target surface. Larger deliveries and different spray configurations are possible with special guns.
The spray technique may be used for filling molds (spray pouring) by confining the spray pattern as it leaves the gun. This is accomplished by attaching a cone to the gun head. The cone may be from 8 in. to 2 ft in length and is attached with the smaller diameter at the outlet end. This device also serves to minimize catalyst loss into the air and confines the foam discharge to a smaller area. With this method, large deliveries of foam material are possible. This technique provides interesting possibilities when filling intricate or large molds. It is relatively inexpensive and highly flexible. Adhesion of the sprayed foam to most surfaces is excellent.
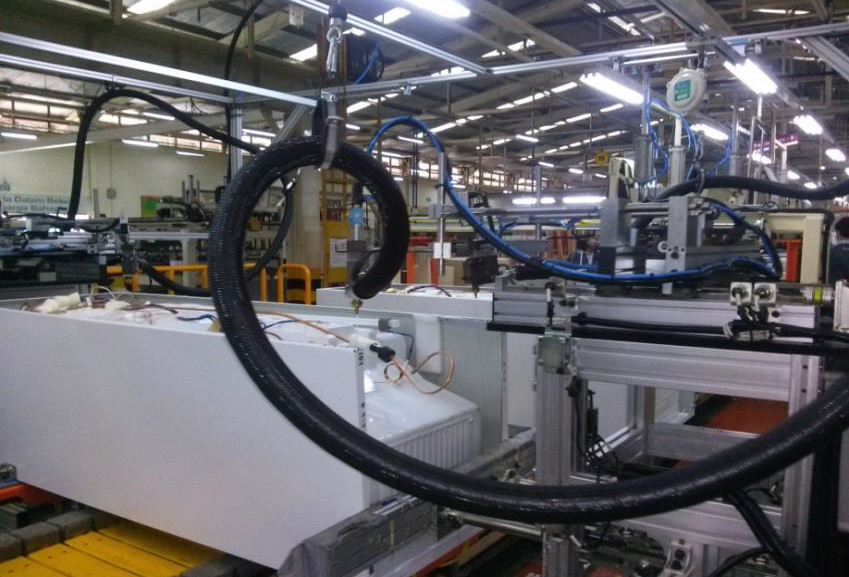
Conventional spraying is usually done with portable metering equipment, which should be light enough to be carried on a small truck or trailer. Most of these units consist of air-driven, dual-action pumps that can be readily calibrated and used with the original 5- or 55-gal shipping containers.
There are two basic types of guns used for spray operations, internal and external mix. The internal mix guns use a number of different methods of mixing. The external mix guns use high-pressure air to bring the components out of the gun. Then, through a swirling action, the air mixes and atomizes the components between the gun and the substrate to be sprayed.
The advantages of an internal mix gun are:
- Generally better mixing, especially of high-viscosity materials
- Lower overspray
- Less atomizing air, allowing the operator to get closer to the work
- Usually, better foam properties because of better mixing
The one big disadvantage of most internal mix guns is their tendency to plug. It takes a great deal of care, even with guns having a solvent purge, to keep them in working order.
External mix guns have the advantage of minimal chance of plugging, and they are easily kept clean. Disadvantages are:
- Usually, poorer mixing, a disadvantage that is minimized with low-viscosity materials
- Large volume of atomization air, making it difficult to get close to the surface being sprayed
To prevent sagging of sprayed urethane foams, formulations with fast reaction rates are used. The faster rates are obtained by using additional catalyst. Additional layers can be sprayed almost immediately. The normal spray rate is ≈4–8 lb/min.
The development that has been most responsible for improvement in the spray process is the 1:1 ratio, low-viscosity, one-shot, totally catalyzed system. This system brought about the development of the airless gun. Previously, atomization was achieved by the introduction of high-pressure air into a conventional mixing chamber. Such spray heads are known as air assisted.
The rise time for airless sprayed urethane foam is ≈30 s. It can be refoamed for additional thickness after this period. It can be walked on after 3–4 min and reaches its full properties in 24 h. The airless spray gun is held ≈30 in from the surface and moved steadily over it.
Generally, dispensing rates of 4–6 lb/min are considered optimum for most spray applications. The surface on which the foam is sprayed must be free of loose scale or grease. The adhesion of urethane foam to steel is essentially equal to the tensile strength of the foam, provided that the surface is clean. Aluminum surfaces, on the other hand, do not provide a good bond unless a primer coat, such as vinyl wash, is used prior to spray foaming.
Figure 8.16 shows a typical stress–strain curve for sprayed urethane foam as measured both with and against the direction of foam rise. The disparity, or degree of nonisotropicity, may be associated with the shape of the foam cell. Since it is necessary to catalyze a spray foam for rapid rise characteristics in order to prevent drooping on vertical and overhead surfaces, the gel time, or that point in the viscosity buildup where there is no longer mobility, is so short that the cell matrix tends to thermoset into a shape similar to an ellipsoid rather than a sphere. Consequently, an increase in compressive strength can be observed when the load is applied parallel to the long axis, while a corresponding decrease can be seen when the load is applied perpendicular to the long axis. In most cases, the high degree of nonisotropicity in spray foam is a significant advantage, since the increased compressive strength is in the direction normal to the foam surface and parallel to the applied loads.
In contrast to the successful techniques developed for spraying rigid and semirigid foams, methods for spraying flexible urethane foams are at a relatively early stage and, at present, rarely used commercially. To date, only polyester systems have been used commercially. Applications are for carpet underlay and textile backing. Water is used instead of fluorocarbon-11 in froth spray resilient urethane foams in the second stage of expansion.
